지난번 docker를 설치한 ubuntu서버에 ghost를 올려보도록 하겠습니다.
https://sound-story.tistory.com/26
[Ubuntu] docker 및 docker compose 설치하기
AWS EC2에 만든 ubuntu서버에 docker 및 docker compose를 설치해보겠습니다. 먼저 생성한 ec2에 연결합니다. > ssh -i "***.pem" ubuntu@ec2-***.ap-northeast-2.compute.amazonaws.com The authenticity of host..
sound-story.tistory.com
설치는 ghost.org의 가이드에 따라 실행하였습니다.
https://ghost.org/docs/install/ubuntu/
How to install & setup Ghost on Ubuntu 16.04, 18.04 and 20.04
A full production install guide for how to install the Ghost professional publishing platform on a production server running Ubuntu 16.04, 18.04 or 20.04.
ghost.org
1. nginx 설치
Ghost는 nginx 서버를 이용합니다. 따라서 nginx를 설치합니다.
$ sudo apt-get install nginxhttp와 https 연결을 위해 방화벽을 허용해 줍니다.
$ sudo ufw allow 'Nginx Full'
Rules updated
Rules updated (v6)
2. MySQL 설치
MySQL을 사용하므로 설치합니다.
$ sudo apt-get install mysql-server
MySQL을 실행하여 root의 password를 설정합니다.
$ sudo mysql
Welcome to the MySQL monitor.  Commands end with ; or \g.
Your MySQL connection id is 8
Server version: 8.0.29-0ubuntu0.22.04.2 (Ubuntu)

Copyright (c) 2000, 2022, Oracle and/or its affiliates.

Oracle is a registered trademark of Oracle Corporation and/or its
affiliates. Other names may be trademarks of their respective
owners.

Type 'help;' or '\h' for help. Type '\c' to clear the current input statement.
mysql> ALTER USER 'root'@'localhost' IDENTIFIED WITH mysql_native_password BY '비밀번호';
Query OK, 0 rows affected (0.01 sec)mysql을 빠져나옵니다.
mysql> quit
Bye
3. Node.js 설치
다음으로 node를 설치합니다.
$ curl -sL https://deb.nodesource.com/setup_16.x | sudo -E bash
$ sudo apt-get install -y nodejs
4. Ghost-CLI 설치
Ghost-CLI는 Ghost를 빠르고 쉽게 사용하기 위한 commandline 툴입니다. npm 또는 yarn을 이용하여 설치할 수 있습니다.
$ sudo npm install ghost-cli@latest -g5. Ghost 설치
생성할 sitename으로 디렉터리를 생성합니다.
sudo mkdir -p /var/www/'sitename'ghost-admin 사용자를 추가합니다.
$ sudo adduser ghost-admin
Adding user `ghost-admin' ...
Adding new group `ghost-admin' (1001) ...
Adding new user `ghost-admin' (1001) with group `ghost-admin' ...
Creating home directory `/home/ghost-admin' ...
Copying files from `/etc/skel' ...
New password:
Retype new password:
passwd: password updated successfully
Changing the user information for ghost-admin
Enter the new value, or press ENTER for the default
        Full Name []:
        Room Number []:
        Work Phone []:
        Home Phone []:
        Other []:
Is the information correct? [Y/n]
추가한 사용자에 superuser gorup을 부여합니다.
$ sudo usermod -aG sudo ghost-admin위에서 생성한 폴더에 소유자를 변경합니다.
$ sudo chown ghost-admin:ghost-admin /var/www/'sitename'
[sudo] password for ghost-admin:
ll 명령어로 소유자가 변경됐음을 확인합니다.
$ ll
total 16
drwxr-xr-x  4 root        root        4096 May 16 06:17 ./
drwxr-xr-x 14 root        root        4096 May 16 05:54 ../
drwxr-xr-x  2 ghost-admin ghost-admin 4096 May 16 06:17 sitename/
drwxr-xr-x  2 root        root        4096 May 16 05:54 html/
755로 권한을 변경합니다.
$ sudo chmod 775 /var/www/sitename생성한 폴더로 이동합니다.
cd /var/www/sitename설치 프로세스를 시작합니다.
ghost install
다운로드 및 설치에 약간의 시간이 소요됩니다.
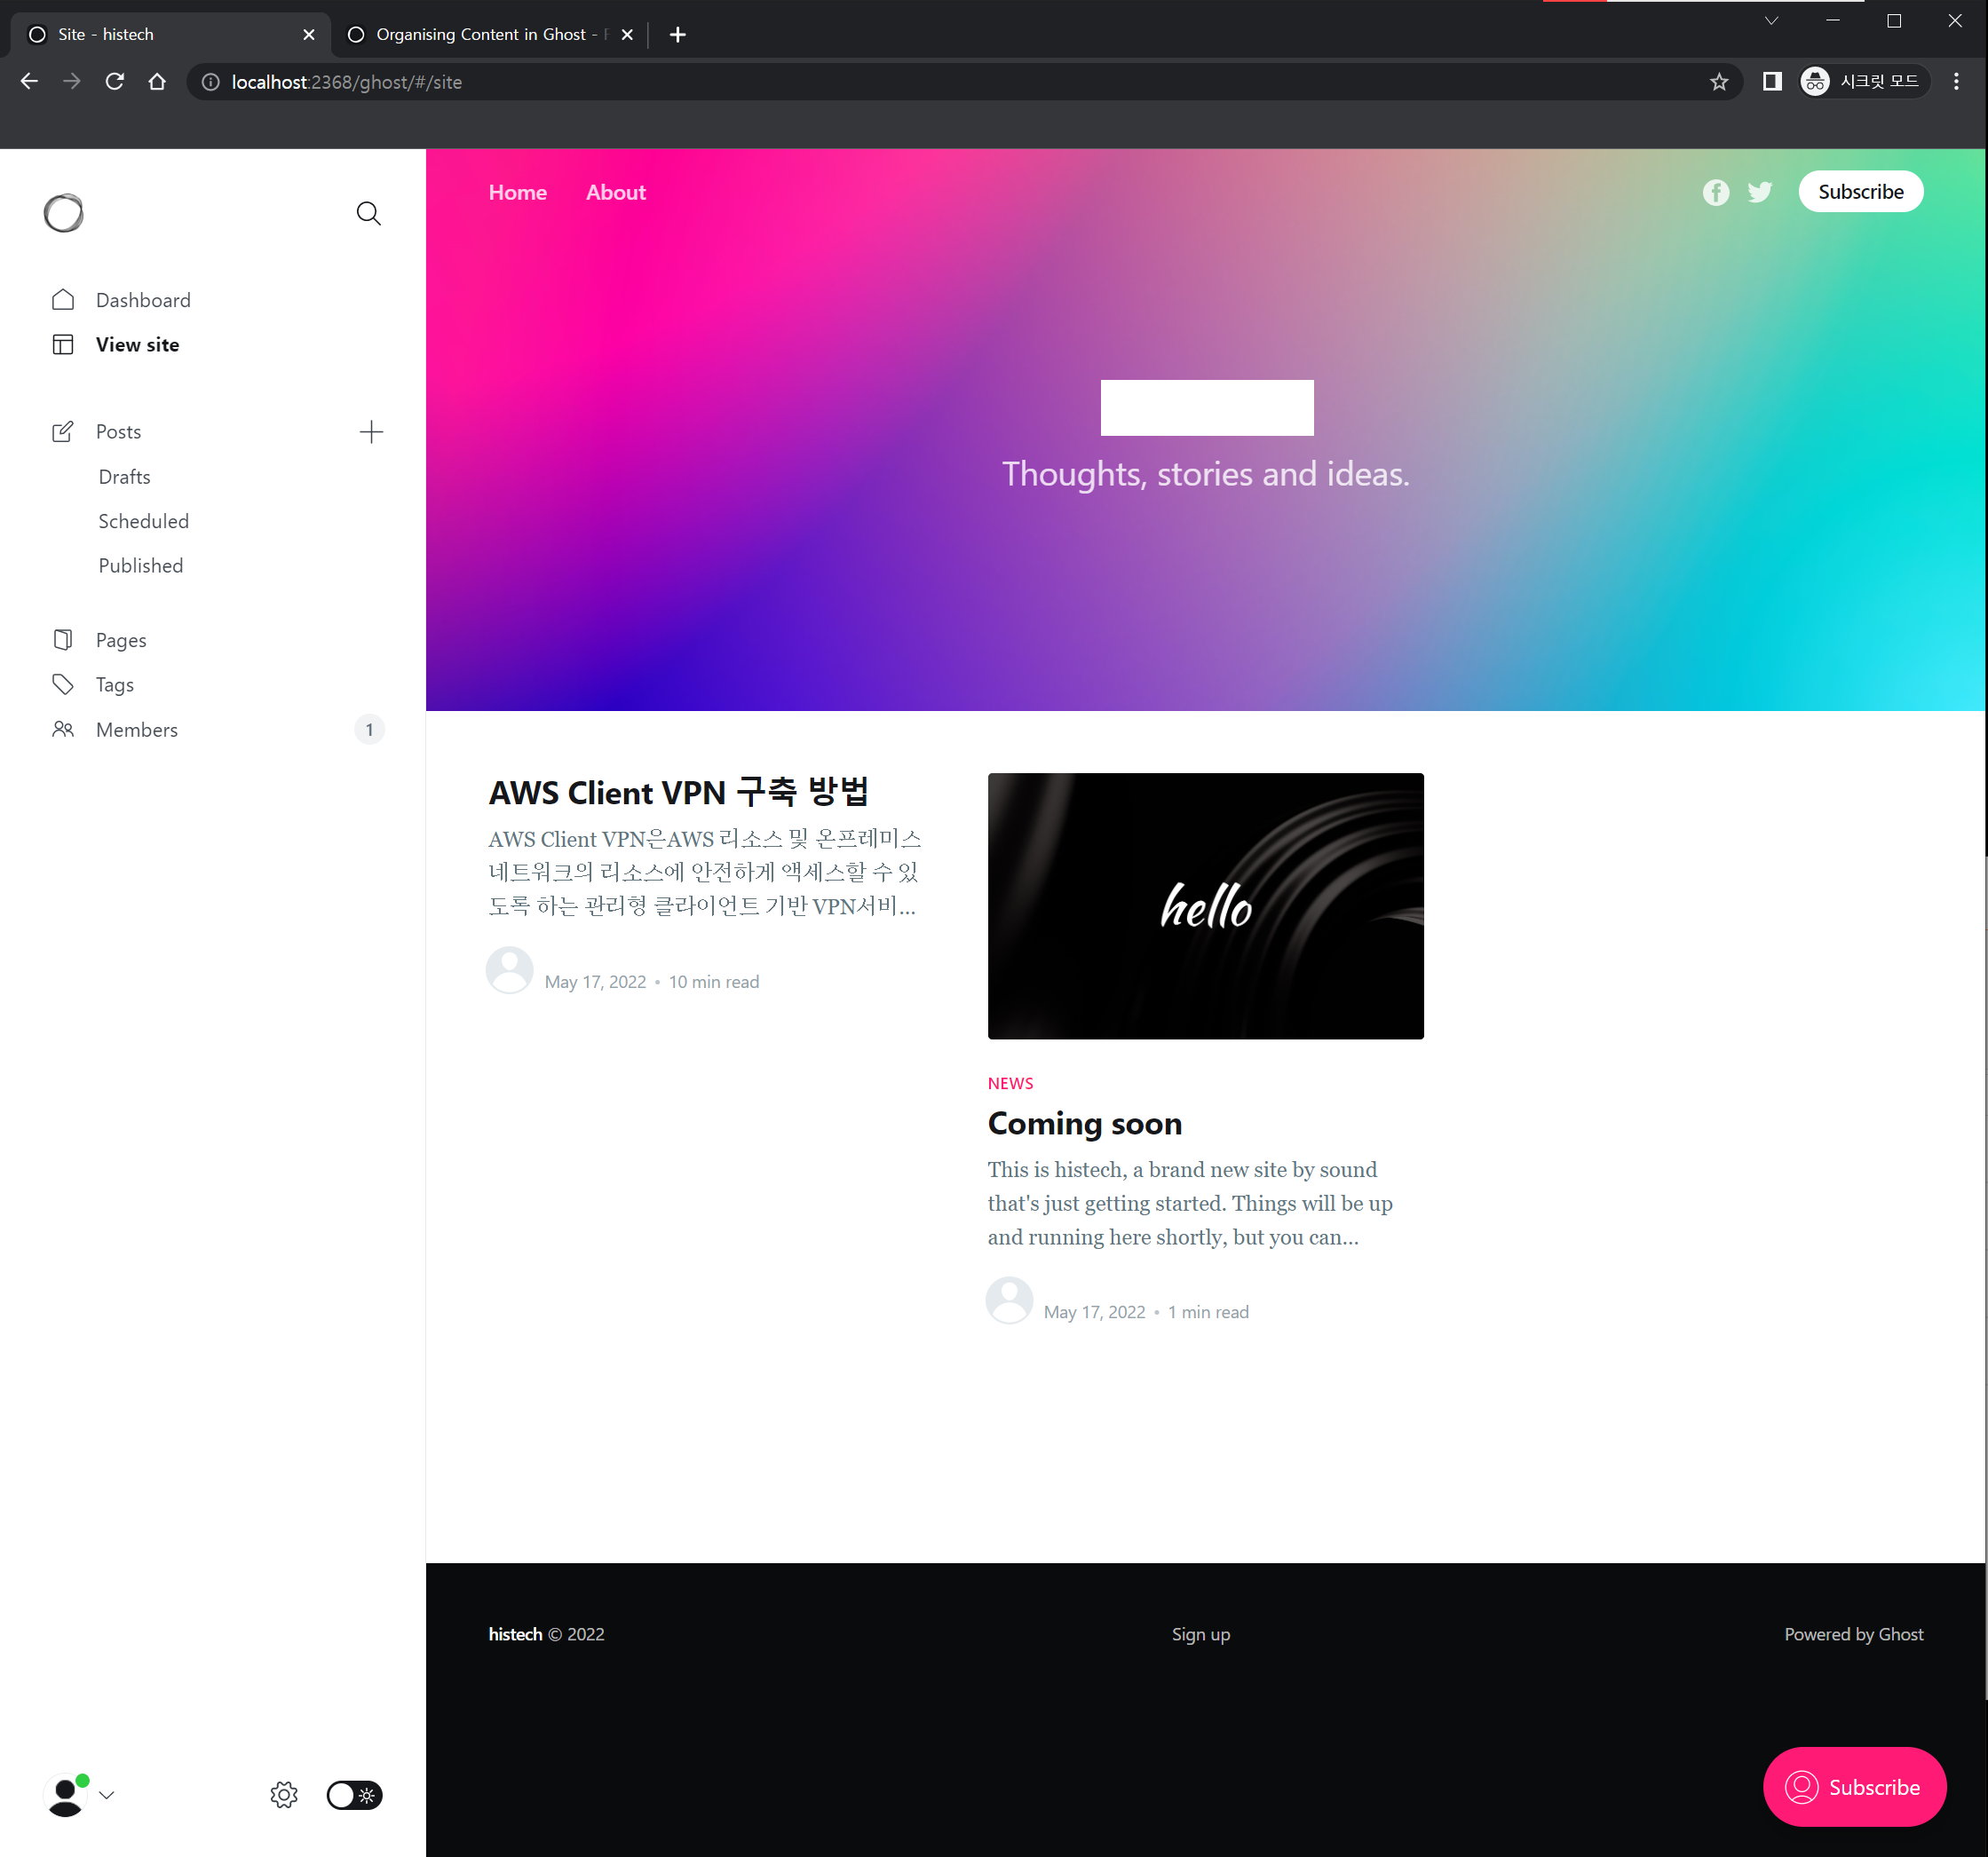
ghost 서비스가 올라오고 http://localhost:2368/ghost로 접속하니 잘 되네요.
'etc' 카테고리의 다른 글
| [ghost] Install from Source (0) | 2022.05.18 |
|---|---|
| [Ubuntu] docker 및 docker compose 설치하기 (0) | 2022.05.16 |
| [JWT] JWT는 왜 쓸까? 이게 최선일까? (0) | 2022.04.01 |
| [etc] 삼성 모니터 분할 크기 조절 (0) | 2022.03.11 |
| [티스토리] 네이버 검색에 나오기 하기! (0) | 2022.03.02 |